

How do admins enter event ticket purchases via the dashboard?
Follow these steps when you wish to purchase a table or ticket on behalf of a guest or a sponsor. Use a free or paid ticket item type as appropriate.
Step One: Open the ticket item and select the ‘$’ icon to enter the purchase for the ticket.

Step Two: Add the purchaser's contact information or select a registered participant on the campaign.

Step Three: Enter the quantity of tickets and the payment method.

In order to mark the purchase as paid by cash, check or bank transfer etc, you may need to upgrade your GalaBid account.
If these payment options are not available on your campaign, process the purchase using a free ticket. Also use a free ticket if you prefer an invoice including the ticket sale amount, marked as paid, is NOT sent to the purchaser. See the invoice notification in Step Four.
Step Four: Notification the purchaser recieves
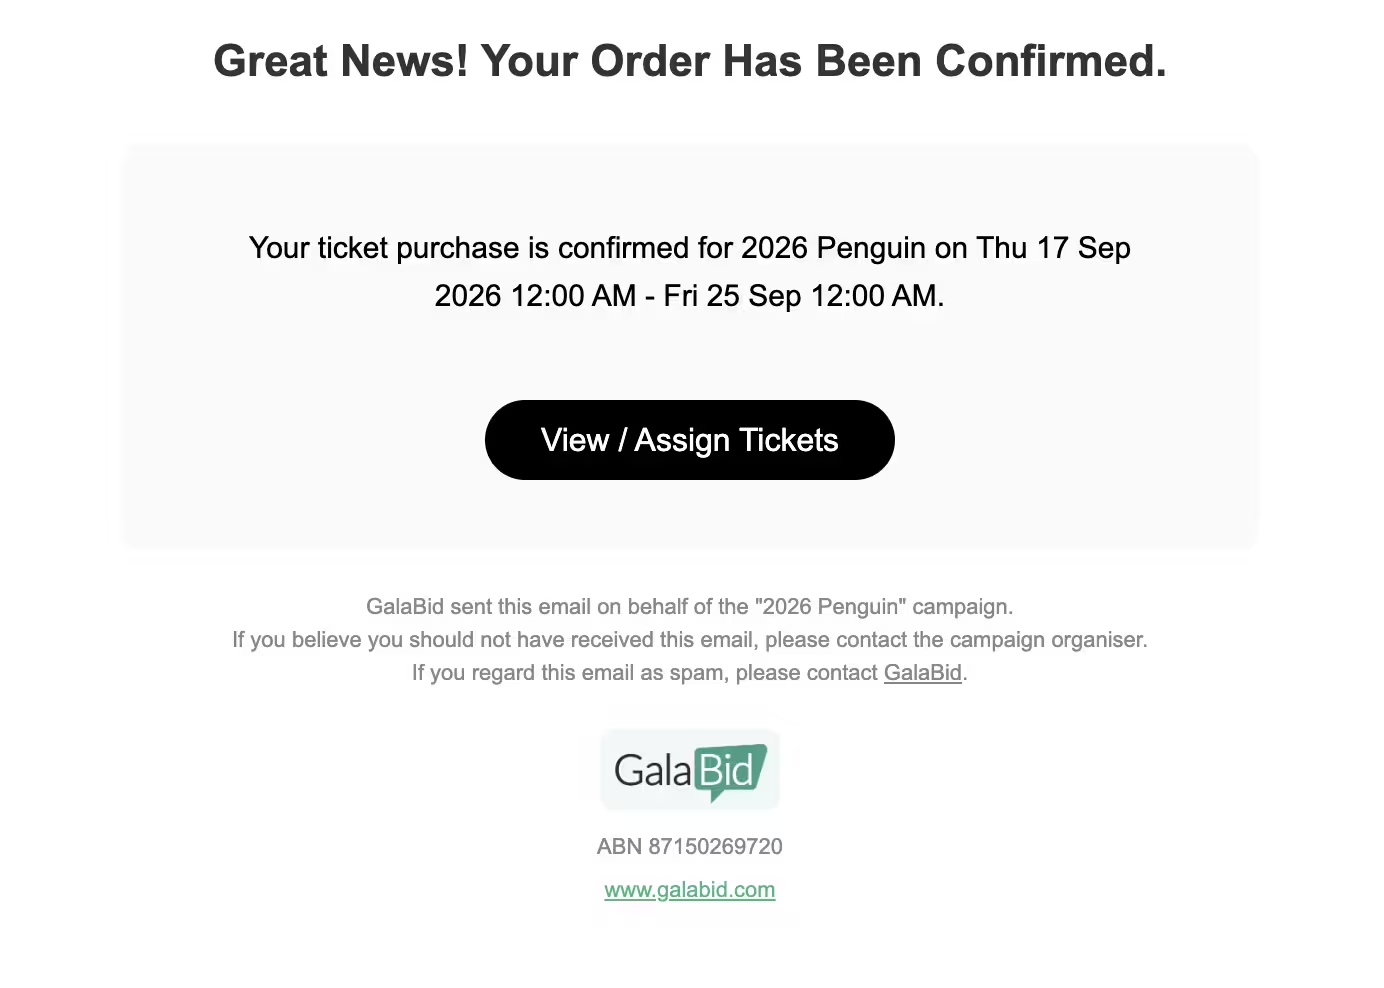
A ticket confirmation is sent.
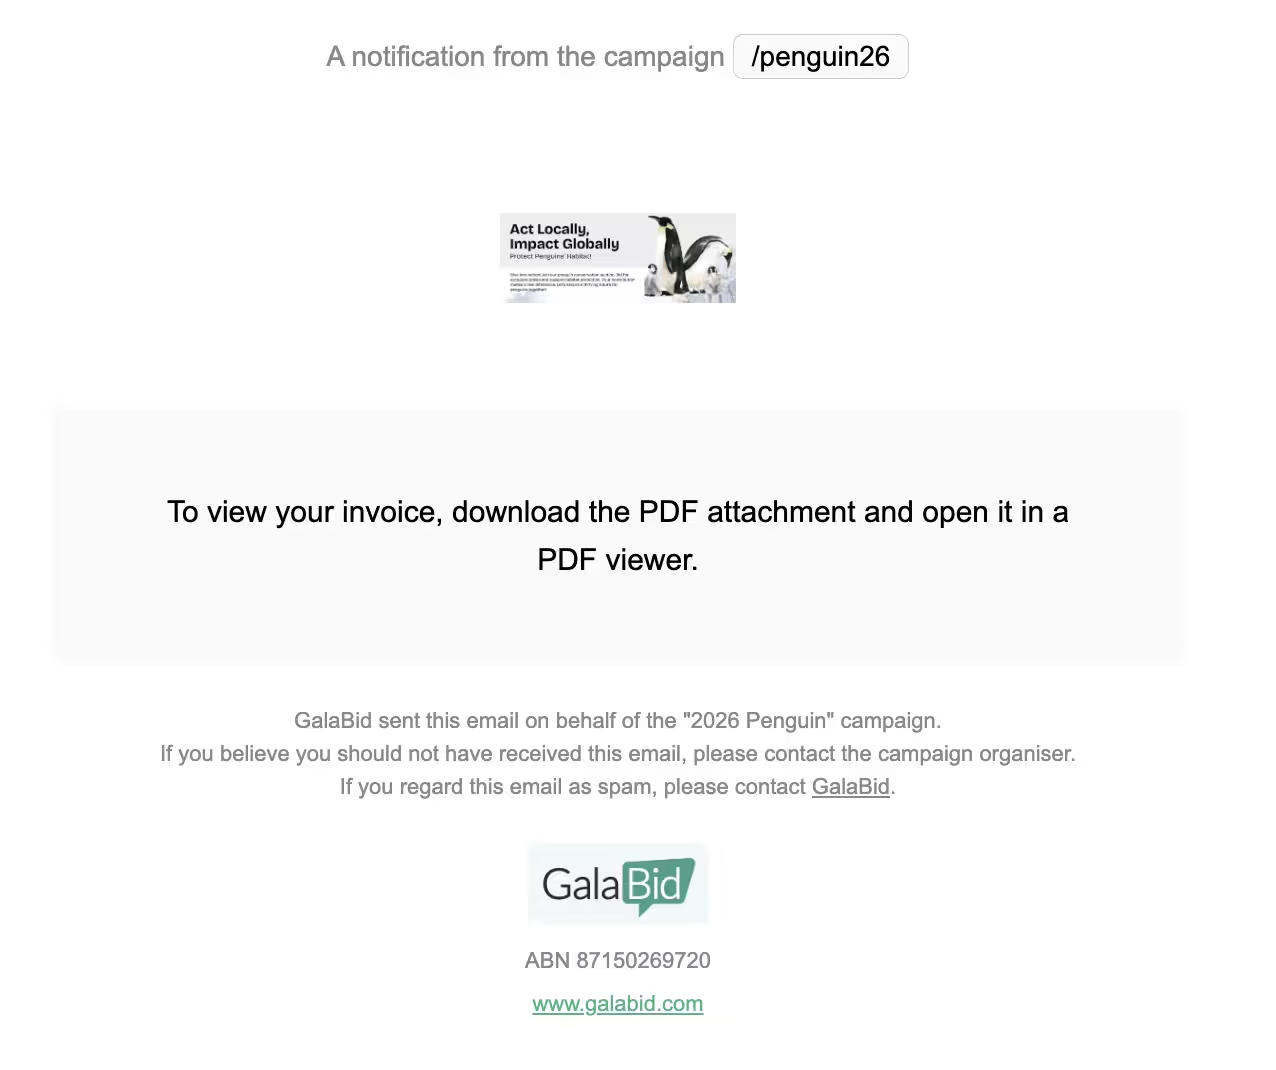
Paid ticket purchasers are also sent an invoice including the payment amount added by the admin.
Step Five: Assigning tickets
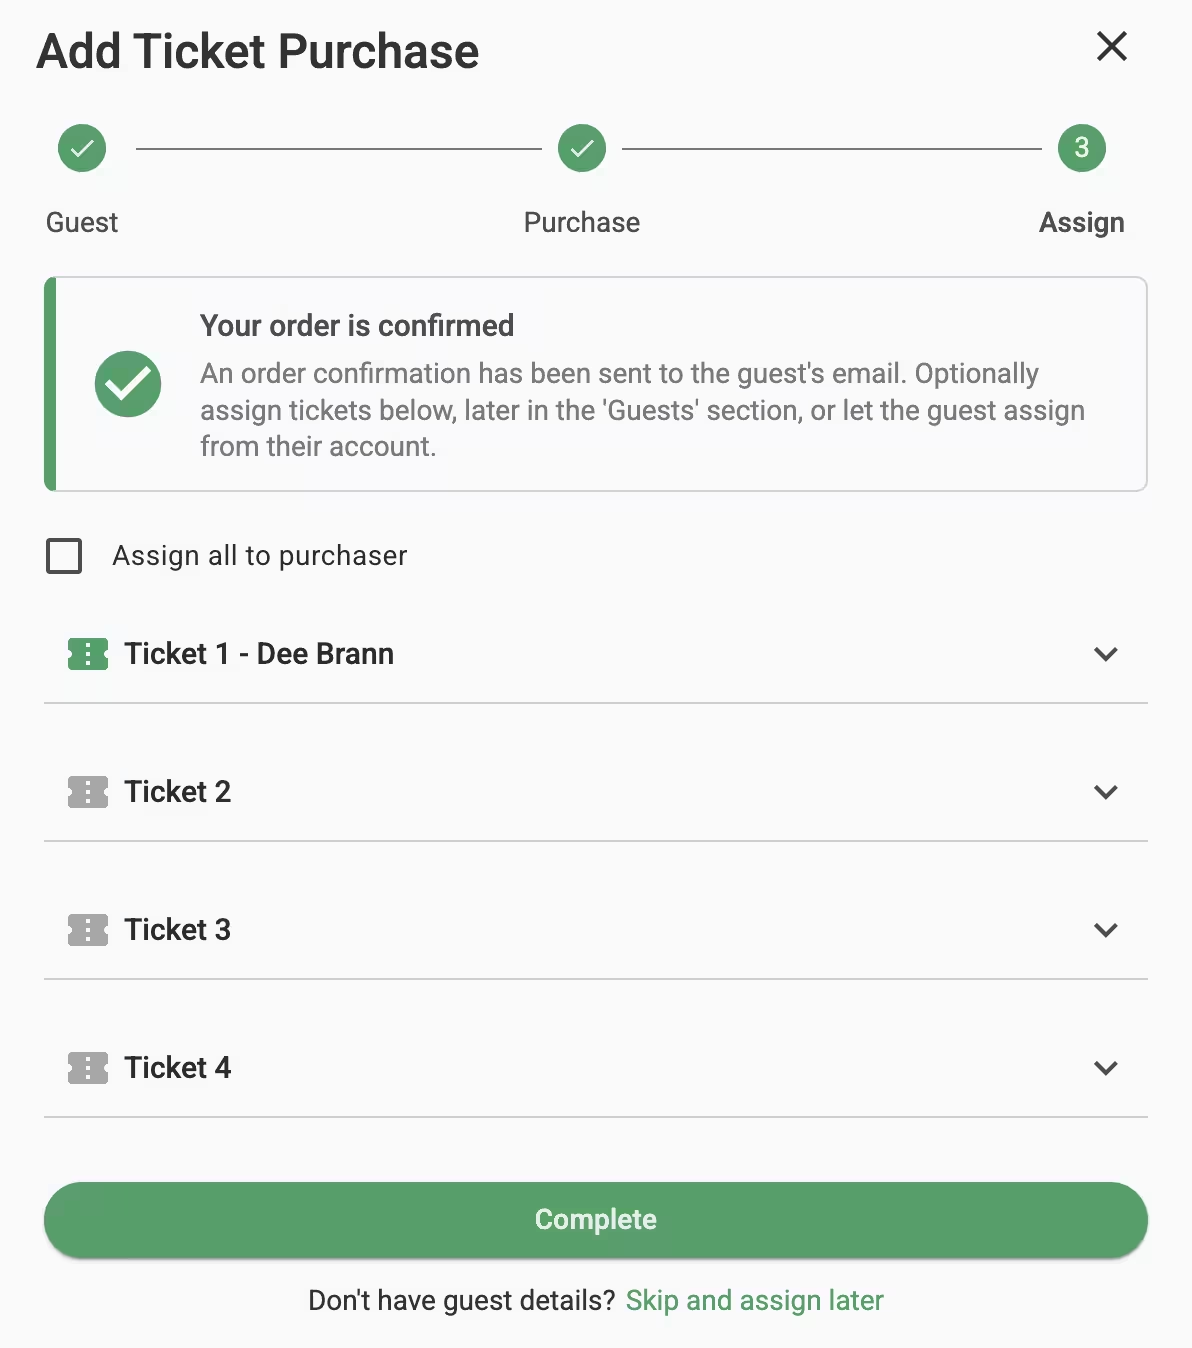
The admin can edit or add who the tickets are to be assigned to. For purchases including multiple tickets, checking the box "Assign all to purchaser" sends all PDF tickets to the purchaser as attachments on an email. The purchaser can also manage their own guest list.
An alternative way to allow sponsors to manage their own guest list
Create a free table ticket for each sponsor, hide it on the campaign and send the guest or sponsor the direct link. They can then invite their own guests.
See how admins can manage event ticket sales and issue refunds.
